
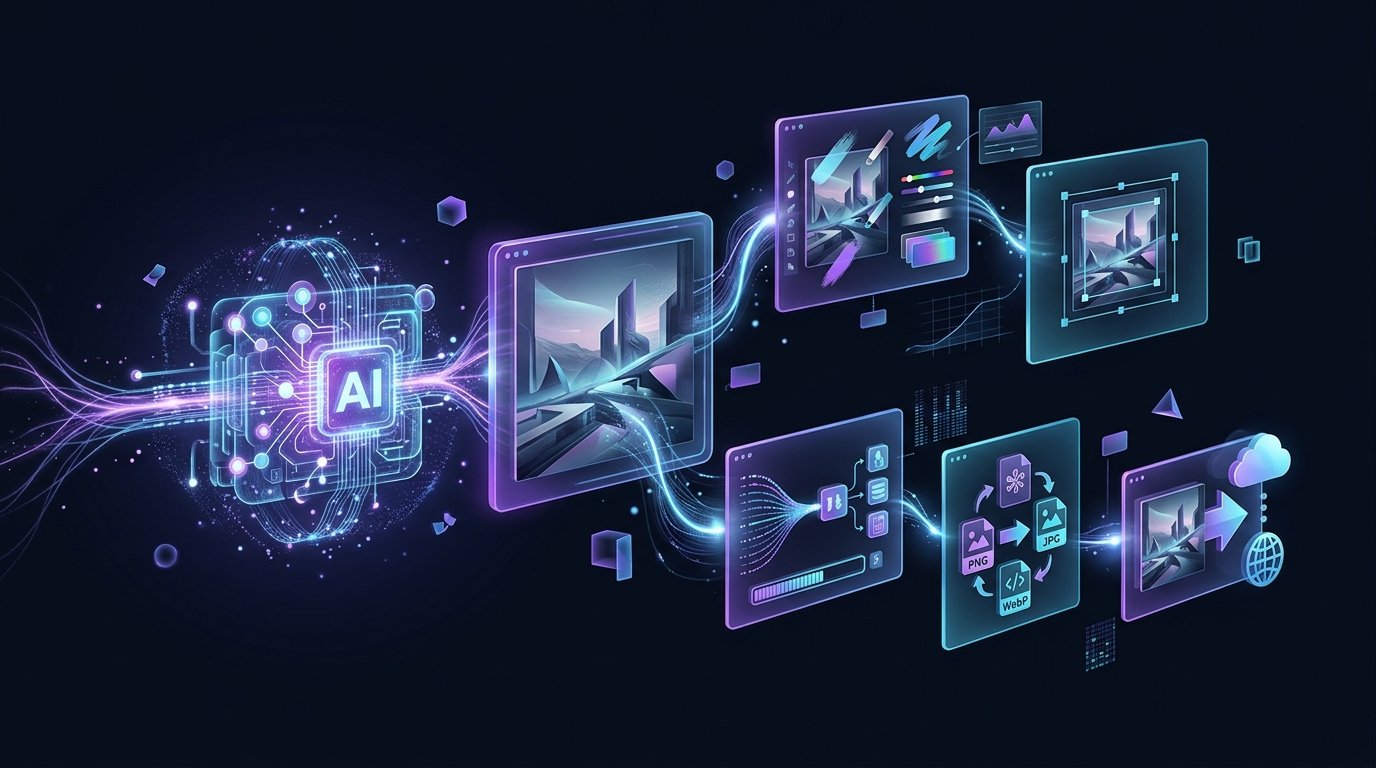
Artificial intelligence has made creating and editing digital images much easier. Today, you can use AI for image creation to brainstorm visual concepts, generate original graphics, improve creative workflows, and prepare images for websites, blogs, social media, and other digital projects.
However, generating an image is only one part of the process. Images often need to be resized, compressed, converted to another format, reviewed for accuracy, and optimized before they are published.
This beginner-friendly guide explains how to use AI for image creation and editing while maintaining quality, usability, and responsible human oversight.
What Is AI Image Creation?
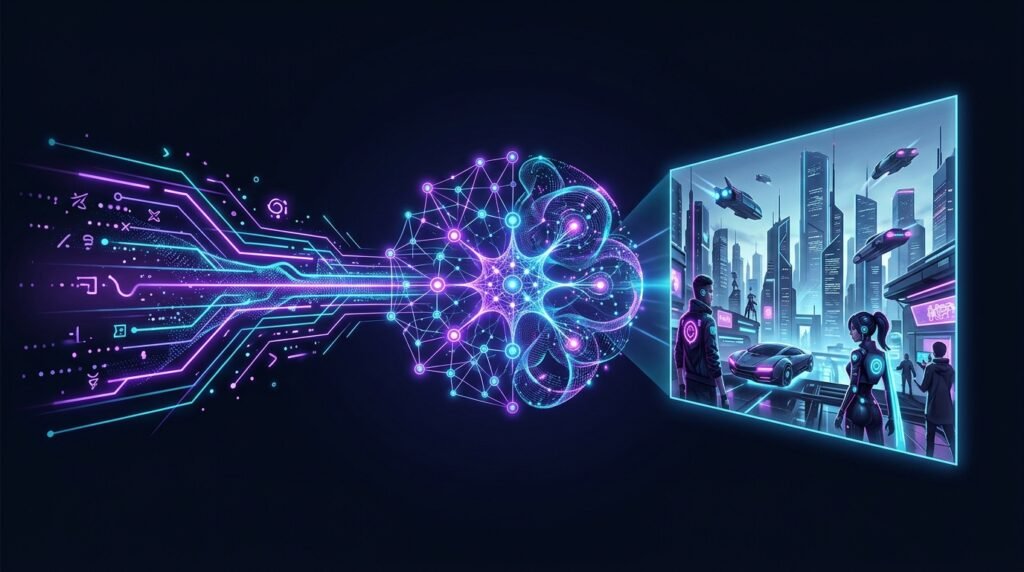
AI image creation uses artificial intelligence models to generate images based on instructions, commonly called prompts.
You describe what you want, and the AI attempts to create a visual representation of those instructions.
For example, you might request:
“Create a professional futuristic illustration of an AI-powered digital workspace with a dark navy background, purple and cyan lighting, clean composition, and no readable text.”
The result can then serve as a starting point for a website graphic, blog image, social post, presentation, or another creative project.
Different AI image tools have different capabilities, styles, limitations, and usage terms, so results can vary considerably.
What Can You Create With AI Image Tools?
AI image generators can assist with many types of visual content.
Common examples include:
- Blog featured images
- Website illustrations
- Social media graphics
- Concept artwork
- Product concept visuals
- Presentation graphics
- Thumbnail concepts
- Background images
- Educational illustrations
- Marketing concepts
AI can also help brainstorm ideas before you begin designing manually.
The appropriate tool and workflow will depend on what you are creating and how the final image will be used.
Step 1: Decide What Image You Need
Before opening an AI image generator, define the purpose of the image.
Ask yourself:
- Where will the image appear?
- What should it communicate?
- Who will see it?
- What dimensions do I need?
- Should it look realistic or illustrated?
- What colors should it use?
- Does it need space for additional design elements?
These decisions make it easier to write a useful prompt.
For example, a featured image for a technology article may require a wide landscape composition, while a social media graphic may need a different aspect ratio.
Step 2: Write a Clear Image Prompt
Your prompt gives the AI instructions about the visual you want.
A useful prompt can include:
Subject + Environment + Composition + Style + Lighting + Colors + Aspect Ratio + Restrictions
For example:
“Create a premium futuristic illustration of an AI assistant helping organize digital content. Dark navy background with purple and cyan lighting, modern holographic interface, clean professional composition, realistic depth, 16:9 landscape, no logos, no watermark, no readable text.”
This provides much more direction than simply saying:
“Create an AI image.”
Clear instructions usually make it easier to reach the desired result.
Step 3: Describe the Subject Clearly
Tell the AI exactly what should be visible.
Instead of:
“Create a technology image.”
Try:
“Create a futuristic digital workspace showing an abstract AI core connected to documents, analytics, images, and productivity tools.”
If several objects are required, explain how they relate to each other.
You can also mention what should be most visually important.
This helps reduce random or irrelevant elements.
Step 4: Control the Visual Style
AI image tools can generate many different visual styles.
Depending on the project, you might request:
- Photorealistic photography
- Professional editorial illustration
- Minimalist graphics
- Futuristic 3D artwork
- Flat vector-style illustration
- Cinematic imagery
- Technical diagrams
- Abstract technology artwork
Consistency becomes especially important when creating multiple images for the same website or brand.
Using similar colors, lighting, visual depth, and composition instructions can make separate AI-generated images feel like part of the same design system.
Step 5: Specify Colors and Lighting
Color instructions can dramatically change an AI-generated image.
If your website has a defined visual identity, include those colors in your prompts.
For example:
“Use a deep navy-black background with electric purple and cyan highlights.”
Lighting instructions can also influence the result.
You might request soft studio lighting for a professional portrait-style visual or subtle neon illumination for futuristic technology artwork.
Avoid adding too many conflicting style instructions because this can make the result visually confusing.
Step 6: Choose the Correct Aspect Ratio
The intended placement should influence the image dimensions.
A wide image may work well for:
- Blog featured images
- Website hero sections
- YouTube thumbnails
- Article illustrations
Square or vertical images may be more suitable for certain social platforms.
When generating an image, specify the desired orientation when the tool supports it.
For example:
“16:9 landscape composition.”
You can resize the final image afterward when you need exact pixel dimensions.
Step 7: Generate Multiple Variations
The first generated image may not be the best one.
Try generating several variations of the same concept.
Compare:
- Composition
- Subject accuracy
- Lighting
- Visual balance
- Unwanted objects
- Background quality
- Overall usability
If one version is close but not perfect, adjust the prompt rather than starting from an entirely different concept.
Small changes can often improve the result.
Step 8: Review the Image Carefully
AI-generated images should be reviewed before publication.
Look for common problems such as:
- Distorted objects
- Strange anatomy
- Incorrect details
- Unwanted text
- Random symbols
- Inconsistent lighting
- Duplicate objects
- Visual artifacts
- Misleading representations
Images that appear correct at first glance may contain unusual details when viewed at full size.
This is particularly important when the image represents real products, places, technical processes, or factual information.
Step 9: Resize Images for Their Final Use
A generated image may have the wrong dimensions for your website or social platform.
Instead of uploading an unnecessarily large image, resize it according to where it will appear.
An Image Resizer can help you change image dimensions directly in the browser.
For website content, the objective is generally to use an image large enough to look clear without serving dimensions far beyond what the page actually needs.
Always check the result after resizing to make sure important details remain visible.
Step 10: Compress Images Before Uploading
Large image files can make webpages heavier and increase download time.
After generating and resizing an image, compression can help reduce its file size.
An Image Compressor can reduce the amount of data that needs to be transferred when someone visits the page.
The goal is to find a sensible balance between file size and visual quality.
Excessive compression may create visible artifacts, while insufficient compression may leave an unnecessarily large file.
Compare the optimized version with the original before publishing.
Step 11: Convert Images to a Suitable Format
Different image formats have different characteristics.
Common web image formats include JPEG, PNG, and WebP.
JPEG can be useful for many photographic images.
PNG is commonly used when transparency or certain types of graphics are required.
WebP can provide efficient compression for many web use cases and is supported by modern browsers.
An Image Format Converter can help you convert an image into a format that better suits your intended use.
Do not convert files randomly. Choose a format based on image quality, transparency requirements, compatibility, and file size.
Step 12: Use Descriptive Image Filenames
Before uploading an image to your website, give it a meaningful filename.
Instead of:
IMG-839472.webp
use something like:
ai-image-creation-workflow.webp
A descriptive filename makes your media library easier to manage and gives additional context about the image.
Use short, relevant words separated by hyphens.
Avoid unnecessarily long filenames or stuffing them with repeated keywords.
Step 13: Write Useful ALT Text
ALT text describes an image when it cannot be seen and can help people using assistive technologies understand relevant visual content.
ALT text should describe the purpose or meaningful content of the image rather than simply repeating keywords.
For example:
AI image creation workflow from prompt to optimized image
is more useful than:
AI image AI image generator best AI image SEO AI
Decorative images may require different treatment depending on how they are implemented.
Think about what information someone would miss if they could not see the image.
Step 14: Add Human Editing When Needed
AI-generated images do not always need to be used exactly as they were generated.
Depending on your workflow and rights to the image, you may further edit:
- Cropping
- Brightness
- Contrast
- Composition
- Background
- Branding
- Text overlays
- Color balance
- Dimensions
Human editing can make a generated image fit the rest of your website or campaign more naturally.
AI can provide the starting point while traditional design tools handle final refinement.
Step 15: Consider Copyright, Privacy, and Usage Rights
Before using AI-generated imagery commercially, understand the terms of the AI service you are using.
Rules can vary between providers.
Be particularly careful when prompts involve copyrighted characters, recognizable brands, private individuals, or material that may imply endorsement.
If you upload existing images into an AI editing service, make sure you have the appropriate rights and permissions to use those images.
For business projects, reviewing the provider’s current usage terms is a sensible part of the workflow.
AI Image Creation for Website Content
AI-generated illustrations can be useful for website content when they genuinely help communicate the topic.
For example, a guide about an AI workflow might use a custom illustration showing the stages of that process.
Avoid adding images simply to make an article longer.
Each visual should have a purpose, such as explaining a concept, breaking up a long section, demonstrating a process, or establishing the topic visually.
After generating the image, optimize its dimensions and file size before uploading it to your website.
AI Image Creation for Social Media
Social media content often needs a different visual approach from website articles.
Images may need to communicate the main idea quickly on a small screen.
You can ask AI to create a composition with a clear focal point and sufficient negative space for additional design elements.
If you plan to add text later in a design application, it is often better to ask the image generator for a clean visual without embedded text.
This gives you more control over typography and avoids common problems with AI-generated lettering.
AI Image Creation: A Simple Workflow
A practical beginner workflow can look like this:
Purpose → Prompt → Generate → Review → Edit → Resize → Compress → Convert → Filename → ALT Text → Publish
First decide what you need.
Create a detailed prompt and generate several options.
Review the selected image for visual problems and accuracy.
Make any necessary edits, resize it for its intended placement, reduce unnecessary file size, and select an appropriate format.
Finally, use a descriptive filename and suitable ALT text before publishing.
This workflow combines AI creativity with practical web optimization.
Common AI Image Creation Mistakes
One common mistake is using vague prompts and expecting highly specific results.
Another is publishing the first generated image without checking it carefully.
Uploading very large AI-generated files directly to a website can also create unnecessary performance costs.
Other mistakes include forcing keywords into ALT text, using meaningless filenames, ignoring image usage rights, and allowing AI-generated text or random symbols to remain in otherwise professional graphics.
A few minutes of review and optimization can significantly improve the final result.
AI Image Creation and Website Performance
High-quality visuals can improve a website’s presentation, but unnecessarily heavy images can also increase page weight.
Image dimensions, compression, format, responsive delivery, caching, and other technical factors can influence how efficiently images are delivered.
AI-generated images should therefore go through the same optimization process as other website graphics.
Generating a beautiful image is only the creative stage.
Preparing it efficiently for the web is the technical stage.
Both matter.
Frequently Asked Questions
Can AI create images from text?
Yes. Many AI image generators can create visuals based on written prompts. Results depend on the model, prompt, settings, and type of image requested.
Can I use AI-generated images on my website?
This depends on the terms and usage rights of the AI service you use. Review the provider’s current policies, particularly when using generated images commercially.
Should I compress AI-generated images?
Compression can be useful for website images because it can reduce file size. Balance compression with acceptable visual quality.
Which image format is best for websites?
There is no single format that is best for every image. JPEG, PNG, WebP, and other formats have different advantages depending on transparency, image type, quality, compatibility, and file-size requirements.
Final Thoughts
Using AI for image creation can make it easier to turn ideas into useful visual concepts for websites, articles, social media, presentations, and other digital projects.
The strongest workflow does not stop after pressing the generate button.
Review the image carefully, make human edits when needed, resize it for its actual purpose, compress unnecessary file size, select an appropriate format, and add meaningful image information before publishing.
AI handles part of the creative process, while thoughtful human review and optimization turn the result into a finished digital asset.